
How to Teach Shapes
A practical guide to teaching shapes: 2D naming, sides and corners, sorting, matching, orientations, drawing, 2D vs 3D, everyday objects, games, and help for common difficulties.
 Amanda Williams
Shapes help children describe the world with precision: a window can be a rectangle, a clock face a circle, a sandwich cut into triangles. When learners can name shapes, notice sides and corners, and spot the same shape turned or flipped, they build vocabulary for maths, art, and everyday talk.
How to teach shapes works best when you start with a few clear 2D shapes, plenty of hands-on sorting, and lots of pointing at real objects — not only worksheets. Pair shape work with how to teach colors when children are also sorting by colour, and with how to teach numbers when you count sides or corners. Use maths worksheets, geometry worksheets, flashcards, and maths lesson plans for practice that matches each stage.
Whether you teach in a classroom or at home, keep sessions short, model the language you want children to use, and increase difficulty only when recognition is secure.
What Children Need to Learn About Shapes
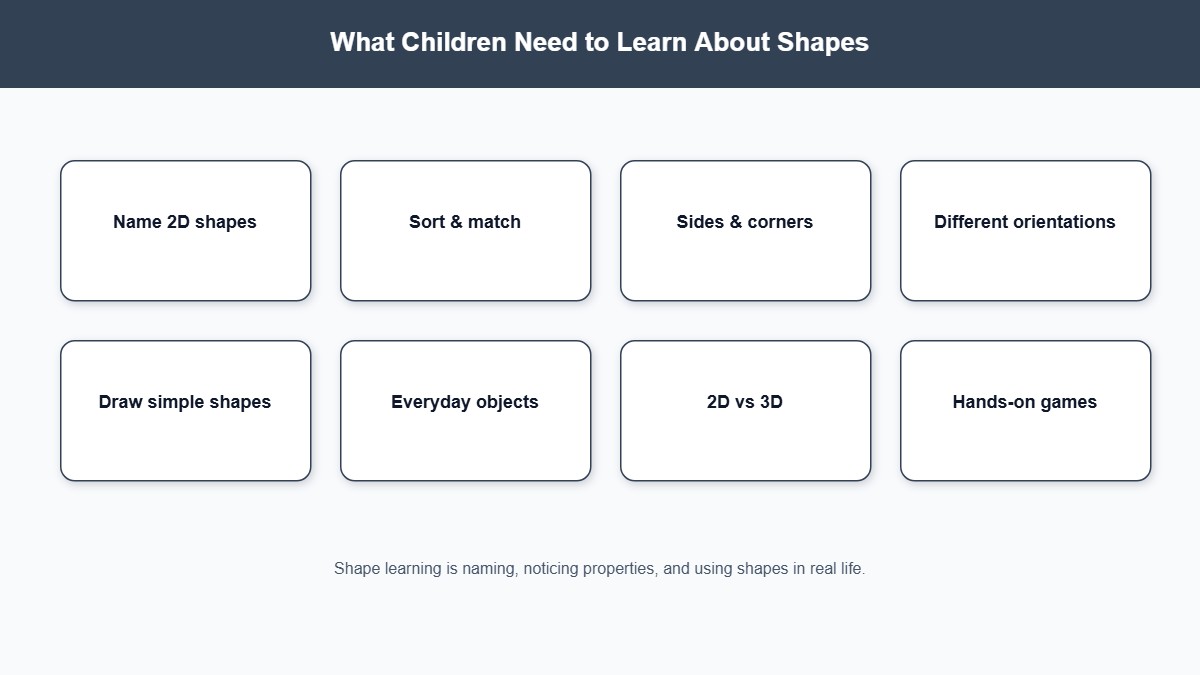
Early shape knowledge usually includes:
- Naming common 2D shapes (circle, square, triangle, rectangle, and later others)
- Recognising shapes in different sizes and orientations
- Talking about sides and corners (vertices)
- Sorting and matching shapes by attribute
- Drawing simple shapes with increasing control
- Noticing that some shapes look different when rotated but are still the same shape
- Beginning to contrast flat (2D) shapes with solid (3D) objects
A child who can recite “circle, square, triangle” but cannot find a tilted square on a page still needs recognition practice, not more labels to memorise.
1. Start With a Few Basic 2D Shapes
Introduce a small set first — often circle, square, and triangle — then add rectangle once those three are firm. Later, bring in oval, diamond (rhombus), pentagon, or hexagon if your curriculum expects them.
Show one large shape cut-out at a time. Say the name clearly, have the child repeat it, and place the shape where everyone can see it. Avoid dumping a whole shape set on the table on day one.
Keep language concrete: “This is a circle. It is round. It has no corners.” Short, repeated phrases stick better than long definitions.
Printable: Basic Shapes
Practise naming and recognising the first circle, square, triangle, and rectangle models.

2. Teach Shape Names With Clear Models
Children need to hear and say shape names many times in meaningful contexts.
Hold up a square tile and ask, “What shape is this?” Mix the tiles and ask them to find the triangle. Use flashcards shape cards for quick name-and-point games between longer activities.
Vary size and colour of the same shape so “triangle” is not tied to one blue plastic piece. If a child only recognises a red circle sticker, they have memorised an object, not the shape.
Printable: More Shape Names
Add more 2D shape names with clear outline models for naming practice.

3. Build Recognition With Sorting and Matching
Sorting turns naming into thinking.
Give a mixed tray of foam shapes and two or three hoop labels: Circle / Square / Triangle. Children place each piece in the correct hoop while saying the name. Matching pairs — find another rectangle like this one — strengthens visual comparison.
Classroom station idea: three baskets and a pile of shape cards. Learners sort, then check a partner’s basket. Wrong sorts become teaching moments: “Count the sides together — is this still a triangle?”
Printable sort-and-match pages sit well with geometry worksheets and wider maths worksheets.
Printable: Sort and Match Shapes
Sort and match shapes so children compare sides, corners, and overall form.

4. Teach Sides and Corners
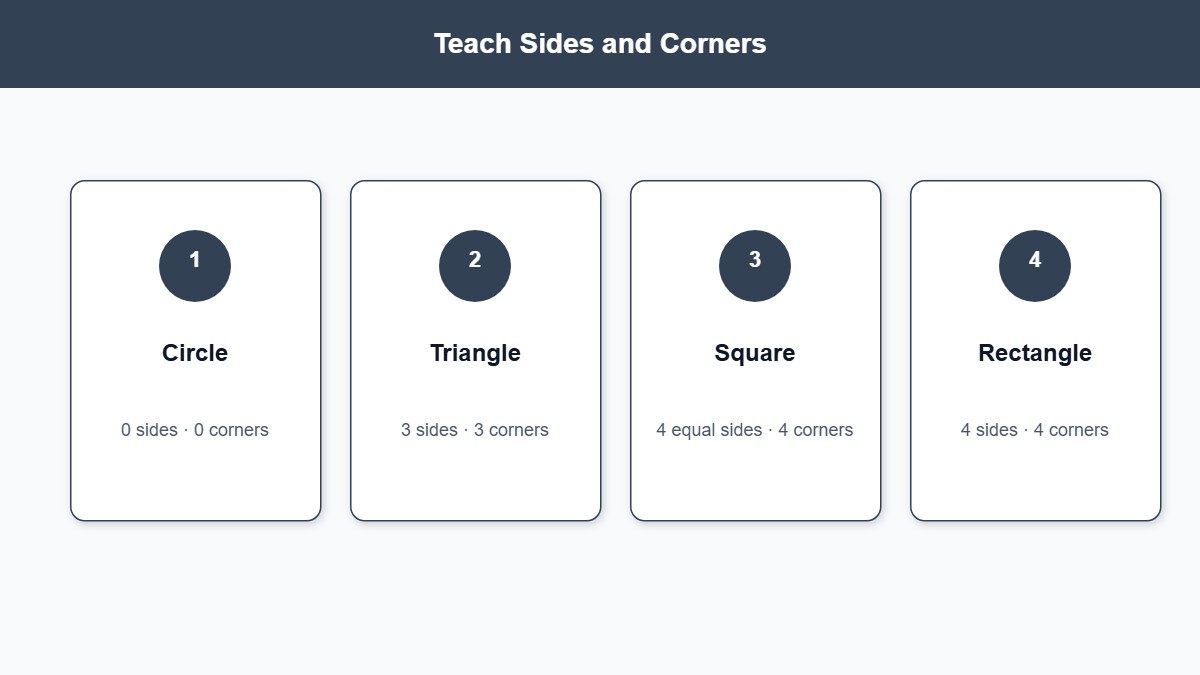
Once names are familiar, teach attributes so children can explain why a shape is what it is.
Trace a finger along each side of a square while counting: “One side, two, three, four.” Touch each corner: “Four corners.” Contrast with a circle: “No straight sides. No corners.”
Ask comparison questions: “Which has more sides — the triangle or the rectangle?” Link gentle counting to how to teach numbers so side-counting feels purposeful, not like a separate maths topic.
Use the words your school prefers (corner / vertex). Stay consistent within a lesson so learners are not juggling two labels for the same idea.
Printable: Sides and Vertices
Count sides and corners (vertices) on common 2D shapes.

5. Practise Shapes in Different Orientations
Many children only recognise a triangle when it sits “point up,” or a square when sides are parallel to the page edge.
Rotate cut-outs slowly and ask, “Is it still a triangle?” Place a square on its corner like a diamond and discuss: some classes call that orientation a square on its tip; others introduce rhombus later. What matters early is that children keep seeing the equal sides and four corners.
Hunt-the-shape walks help: find triangles on warning signs, rectangles on doors, circles on lids — including shapes that are tilted or partially hidden.
6. Teach Drawing Simple Shapes
Drawing supports memory and fine-motor control, but it should not block recognition for children who still struggle with pencil grip.
Model start points: for a square, draw four straight sides meeting at corners; for a circle, a smooth continuous curve; for a triangle, three sides that join. Air-draw first, then finger-trace a large outline, then pencil copy.
Accept wobbly first attempts. Praise “three sides that join” rather than perfect straightness. Save neat geometry drawings for later once the idea is secure.
Printable: Draw Shapes
Practise drawing simple shapes with guided outlines and freehand space.

7. Connect Shapes to Everyday Objects
Real objects make shape talk useful.
At school: clock faces (circle), exercise books (rectangle), sandwich halves (triangle), floor tiles (square). At home: plates, windows, road signs, pizza slices, sticky notes.
Ask: “What shape is the table top?” If the answer is fuzzy, trace the edge with a finger and count sides together. Everyday shape hunts pair naturally with how to teach colors when you ask for “a red circle” or “a blue square.”
8. Introduce 2D Versus 3D
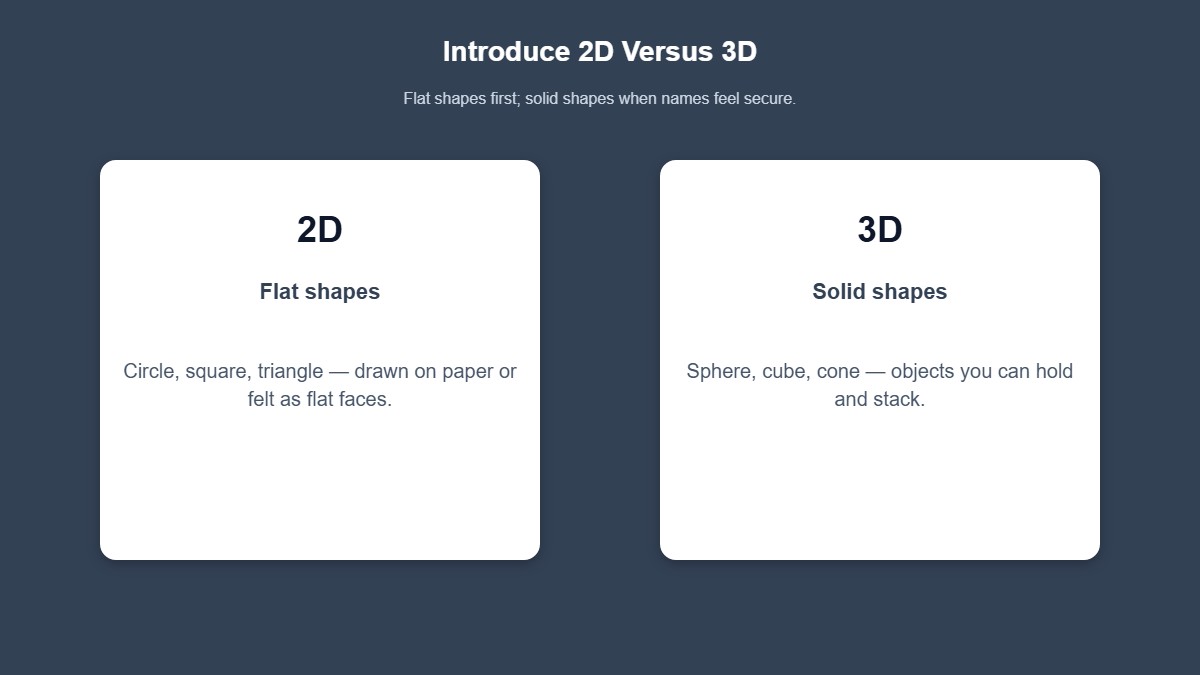
When flat shape names are solid, introduce the idea that some things are flat pictures or cut-outs (2D) and some are solid objects you can hold (3D).
Hold a paper circle next to a ball. Say: “This circle is flat. This ball is a sphere — it is solid and takes up space.” Compare a square card to a cube block, a triangle card to a triangular prism if you have one.
Keep early 3D language light: ball/sphere, box/cube, tin/cylinder. Full formal 3D naming can wait until 2D recognition is automatic. The goal is noticing flat versus solid, not memorising a long solids list on day one.
Printable: 3D Shape Intro
Compare flat 2D shapes with early 3D solid names and everyday links.

9. Hands-On Shape Activities and Games
Active practice keeps attention high and language flowing.
Ideas:
- Shape biscuit cutters in playdough — press, name, count sides
- Build shapes with sticks and blobs of clay for corners
- “Feely bag”: touch a shape without looking and name it
- Shape bingo with flashcards or drawn boards
- Geoboards or pegboards: stretch bands into squares and triangles
- Obstacle course: hop to the circle mat, crawl to the rectangle
Keep rules simple so the focus stays on accurate naming and attributes, not winning the game.
Printable: Patterns and Symmetry
Extend shape play with pattern sequences and simple symmetry pages.


10. Common Shape Difficulties and How to Help
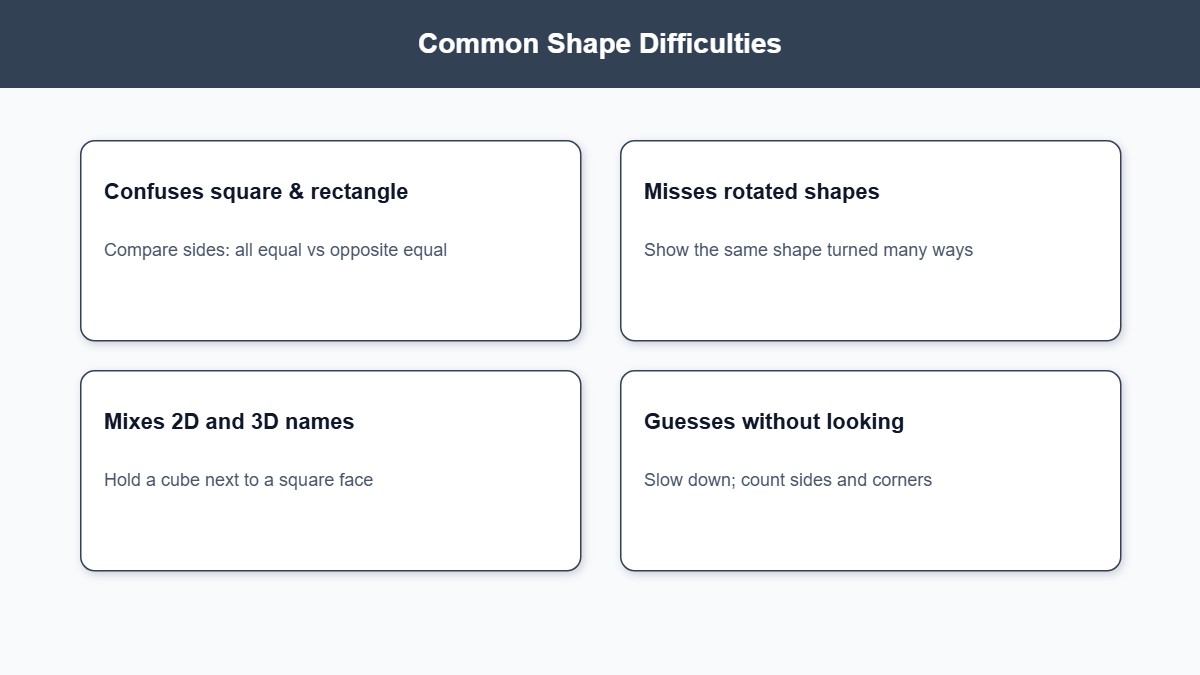
Confusing square and rectangle: Emphasise equal sides on a square. Place a square on top of a longer rectangle and compare. Some children need many examples before “all sides equal” sticks.
Only recognising shapes one way up: Practise rotated and flipped cut-outs daily for a week. Ask “same shape or different?” before asking for the name.
Mixing up oval and circle: Trace both. Talk about “stretched” versus “evenly round.” Provide clear side-by-side models.
Counting sides incorrectly: Slow down. Mark each side with a small tick as it is counted. Recount together.
Rushing to 3D names too soon: Return to secure 2D sorting before expanding solids vocabulary.
11. How to Increase Difficulty
Raise challenge only when basic recognition is accurate:
- More shapes (pentagon, hexagon, oval, rhombus)
- Shapes in busy pictures or overlapping outlines
- Sorting by two attributes (red triangles vs blue triangles — link with how to teach colors)
- Describing a shape without showing it (“three straight sides and three corners”)
- Drawing shapes from verbal instructions
- Simple symmetry folding for rectangles and squares
- Clearer 2D / 3D sorting with classroom objects
If accuracy drops, return to fewer shapes and clearer cut-outs before pushing on.
A Simple Shapes Lesson Structure
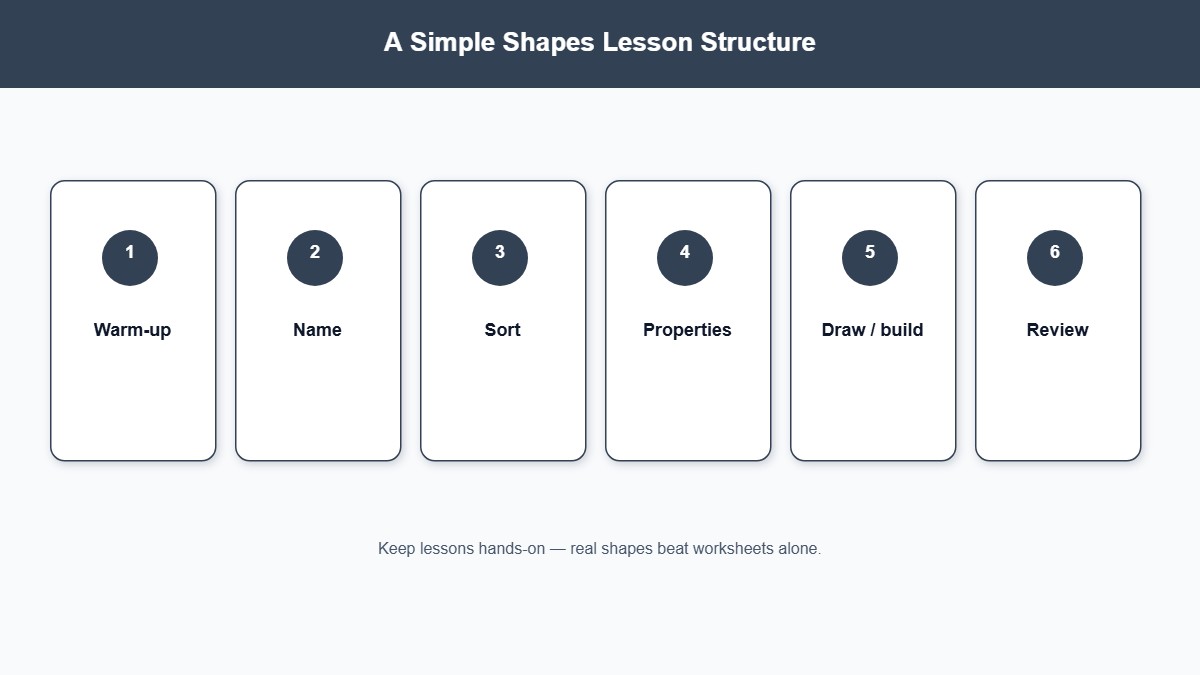
A short shapes lesson can follow this sequence:
- Warm-up — Quick name game with three known shape cards.
- Model — Introduce or revise one shape; count sides and corners together.
- Guided practice — Sort a shared set; fix mix-ups in the moment.
- Independent practise — Shape hunt, matching sheet from geometry worksheets, or build shapes with sticks.
- Check — Hold up one rotated shape; class names it and justifies with sides/corners.
- Wrap-up — Everyday object example (“Our door is a rectangle”).
Adapt timing for age. Younger learners need more handling of cut-outs; older beginners may move faster into attributes and 2D/3D talk. Plan fuller sessions with maths lesson plans.
How to Teach Shapes Step by Step
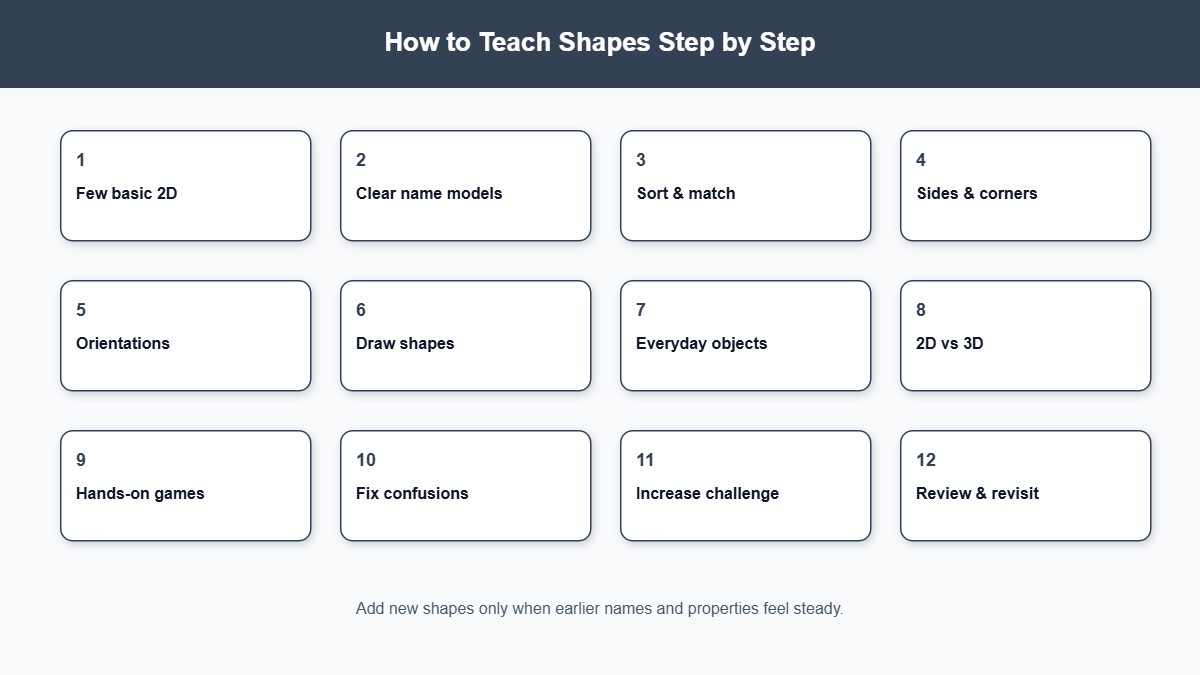
A practical progression looks like this:
- Learn names for a small set of 2D shapes with clear models.
- Match and sort those shapes by type.
- Count sides and corners and use that language to explain choices.
- Recognise the same shapes in different sizes and orientations.
- Find shapes in everyday objects and pictures.
- Draw simple shapes with support, then more independently.
- Compare lookalike shapes (square/rectangle, circle/oval).
- Introduce flat (2D) versus solid (3D) with real objects.
- Add new shapes and harder visual hunts.
- Use games, building, and short lessons for fluency.
Not every learner needs the same time at each step. Stay with naming and sorting until those feel automatic.
Shape Activities at Home
Home practice does not need special equipment.
Spot shapes on a walk: wheels, windows, yield signs, manhole covers. Sort fridge magnets or biscuit cutters into shape groups. Build a house picture from paper rectangles, squares, and triangles. Ask your child to “plate up” snacks in a circle (cracker) and a triangle (cheese slice) and name each.
Keep it playful. One careful shape conversation during packing toys often teaches more than a rushed worksheet.
How to Help a Child Who Struggles With Shapes
First identify what is breaking down: the name, the visual match, orientation, or counting sides.
Then simplify: only two shapes on the table, large cut-outs, and identical colour so colour does not distract from form. Sit beside the child and trace sides together while you both count aloud.
Use identical materials at first (all the same foam set) before mixed collage pieces. Celebrate accurate pointing and sorting over fast answers.
If language is the barrier, practise one new name for several days in games before adding another. Visual flashcards and hands-on sorts rebuild confidence faster than asking for verbal definitions alone.
Final Thoughts
Teaching shapes well means teaching seeing and describing: clear names, sides and corners, the same shape in new positions, and links to real objects. Hands-on sorting and building matter as much as pictures on a page.
Build from a few 2D shapes to attributes, orientation, drawing, everyday hunts, and a gentle 2D/3D contrast. When those foundations are firm, children are ready for richer geometry language and for combining shape with how to teach colors and early how to teach numbers ideas.
Keep sets manageable, correct mix-ups without fuss, and use classroom and home objects so shape talk feels useful. Clear models, guided practice, and regular short sessions matter more than racing through a long shape vocabulary list.
Frequently Asked Questions
Common questions answered for downloading and using our premium printable designs.



Comments (0)
Leave a Reply
Be the first to leave a comment!