
How to Teach Handwriting
A practical guide to teaching handwriting: pencil grip, pre-writing shapes, letter formation, spacing, words and sentences, common problems, and simple lesson routines.
 Amanda Williams
Handwriting is the physical skill of forming letters clearly and comfortably on the page. Before children can write stories or answers in full sentences, they need enough control to hold a pencil, make steady marks, and form letters that other people can read.
Table of Contents
- What Handwriting Involves
- 1. Check Pencil Grip and Posture
- 2. Build Pencil Control Before Letters
- 3. Teach Pre-Writing Lines and Shapes
- 4. Teach Letter Formation Clearly
- Printable: Letter Formation Practice
- 5. Teach Uppercase and Lowercase Together (When Ready)
- 6. Use Tracing and Copying Wisely
- Printable: More Letter Practice
- 7. Teach Size, Line Use, and Spacing
- 8. Move From Letters to Words and Sentences
- Printable: Write Simple Words
- 9. Set a Simple Practice Routine
- 10. Common Handwriting Problems and How to Help
- 11. Helping With Messy Handwriting
- 12. Keep Handwriting Practice Engaging
- Printable: Extra Handwriting Practice
- 13. Increase Difficulty Gradually
- A Simple Handwriting Lesson Structure
- How to Teach Handwriting Step by Step
- Final Thoughts
Teaching handwriting works best when you move from big movements to small ones, and from heavy support to independence. Learners practise grip and pencil control, then pre-writing lines and shapes, then letter formation, then words and short sentences. This guide focuses on that sequence and pairs well with how to teach writing, how to teach letter recognition, and how to teach phonics.
What Handwriting Involves
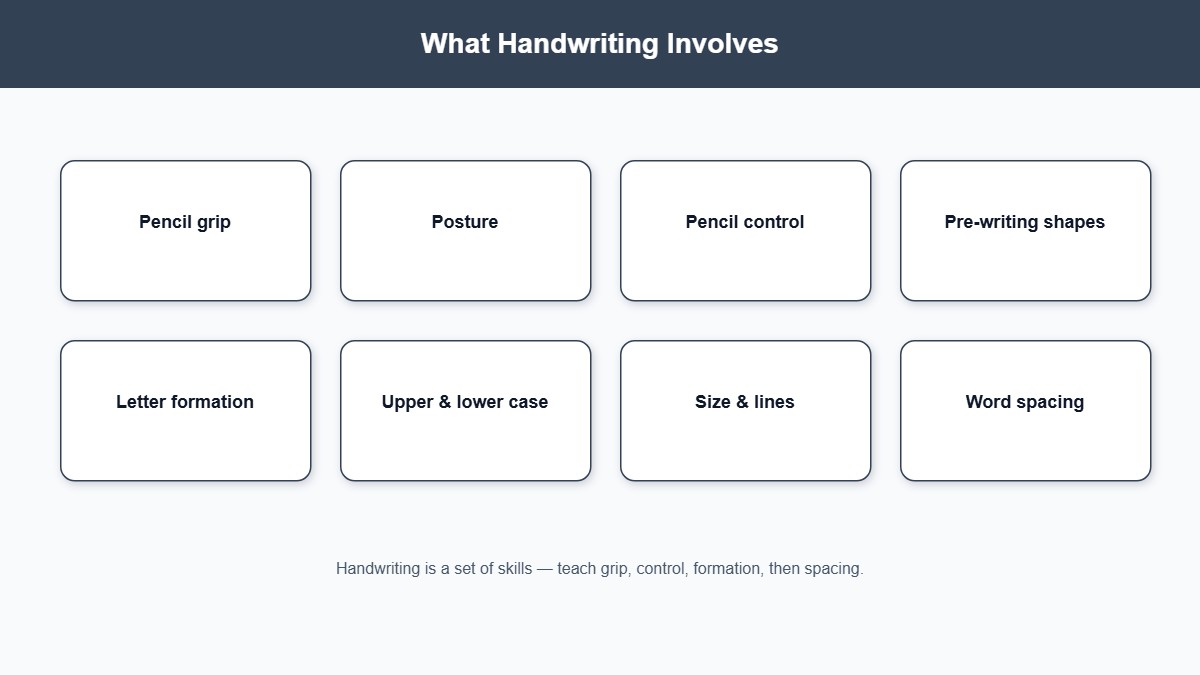
Handwriting is more than “neatness.” Learners need to:
- Hold a pencil with a stable, comfortable grip
- Control pressure and direction on the page
- Form letters with a consistent starting point and stroke order
- Write both uppercase and lowercase letters
- Keep letters on the line and roughly the same size
- Leave clear spaces between words
- Write words and short sentences without tiring quickly
Some children recognise letters long before they can write them smoothly. Others can copy shapes but struggle with letter order or spacing. Match practice to the skill that is actually weak. Printable practice is available in handwriting worksheets and alphabet worksheets.
1. Check Pencil Grip and Posture
Start by watching how the learner sits and holds the pencil.
A useful early grip is a tripod grip: pencil rests between thumb and index finger, with the middle finger supporting underneath. The hand should rest lightly on the desk, and the non-writing hand should hold the paper steady.
If the grip is very tight, the pencil is pinched near the tip, or the whole fist is wrapped around the pencil, letters often become large, shaky, or painful to produce. Do not force a perfect adult grip overnight. Short practice with a softer pencil, thicker crayon, or triangular pencil can help while you model a better hold.
Also check posture: feet on the floor when possible, paper slightly tilted, and the writing arm free to move. Tired shoulders and a slumped wrist often look like “messy handwriting” when the real issue is comfort and control.
2. Build Pencil Control Before Letters
Letter writing asks for small, precise movements. Many beginners need larger motor practice first.
Useful warm-ups include drawing vertical lines from top to bottom, horizontal lines left to right, circles, zigzags, waves, and simple paths that stay inside two guide lines. You can also use chalk on a board, finger tracing in sand, or large air writing before moving to paper.
Keep these tasks short and playful. The aim is steady direction and even pressure, not perfect art. Once the learner can draw controlled lines and curves, letter strokes become much easier.
3. Teach Pre-Writing Lines and Shapes
Most letters are built from a small set of strokes: straight lines, curves, circles, and hooks.
Practise these building blocks before full alphabets:
- Tall sticks and short sticks (for letters like l, i, t)
- Circles and ovals (for o, a, c, e)
- Curves that open to the right or left (for c, s, u)
- Diagonal lines (for v, w, x, k)
- Simple shapes such as squares, triangles, and crosses
Ask the learner to start at a clear point and move in one continuous path when possible. Say the movement out loud: “Start at the top. Straight down. Stop.” This oral cue later transfers to letter formation.
4. Teach Letter Formation Clearly
Show one letter at a time. Demonstrate where to start, which way to move, and where to stop.
For example, when teaching lowercase m, you might say: “Start at the top. Down. Up and over. Up and over again.” Then write it slowly while the learner watches.
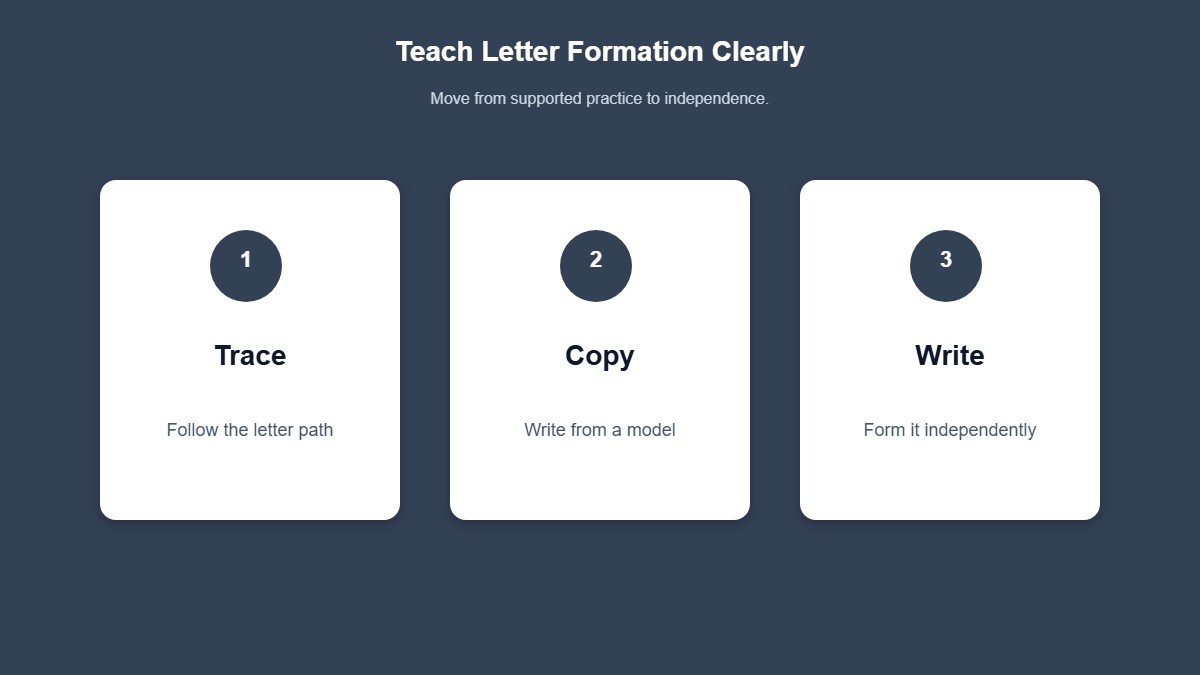
Use a clear sequence: Trace → Copy → Write independently.
- Trace: The learner follows a dotted or lightly printed letter.
- Copy: The learner looks at a model and writes beside or under it.
- Write: The learner writes from memory or from a spoken letter name.
Do not rush from tracing to free writing. Many children need several days of tracing and copying before a letter becomes automatic. handwriting worksheets with stroke guides are useful here.
Printable: Letter Formation Practice
Trace early letters and practise writing a name on handwriting lines.


5. Teach Uppercase and Lowercase Together (When Ready)
Learners need both forms: A a, B b, C c.
For beginners, it often helps to teach a small set of high-use letters first — for example the letters in the child’s name — rather than the whole alphabet in one week. Pair visual recognition with formation so children know what the letter looks like and how to make it. That links naturally with how to teach letter recognition and flashcards.
Explain simple usage early: uppercase at the start of a name or sentence; lowercase for most letters inside words. Keep the handwriting focus on formation and size, not long grammar lessons.
6. Use Tracing and Copying Wisely
Tracing builds muscle memory. Copying builds visual planning. Both matter.
If a child only traces forever, they may not learn to plan the letter alone. If they only copy with no model of stroke order, they may invent inefficient paths (for example starting b from the bottom).
A practical routine for one letter: three traces, three copies, then two independent attempts. Circle the best independent letter and ask why it worked: “This one sits on the line,” or “This one starts at the top.”
Rotate between paper worksheets, whiteboard practice, and letter cards so the skill does not feel like the same page every day.
Printable: More Letter Practice
Continue tracing and copying across the rest of the alphabet.


7. Teach Size, Line Use, and Spacing
Once letters are recognisable, refine how they sit on the page.
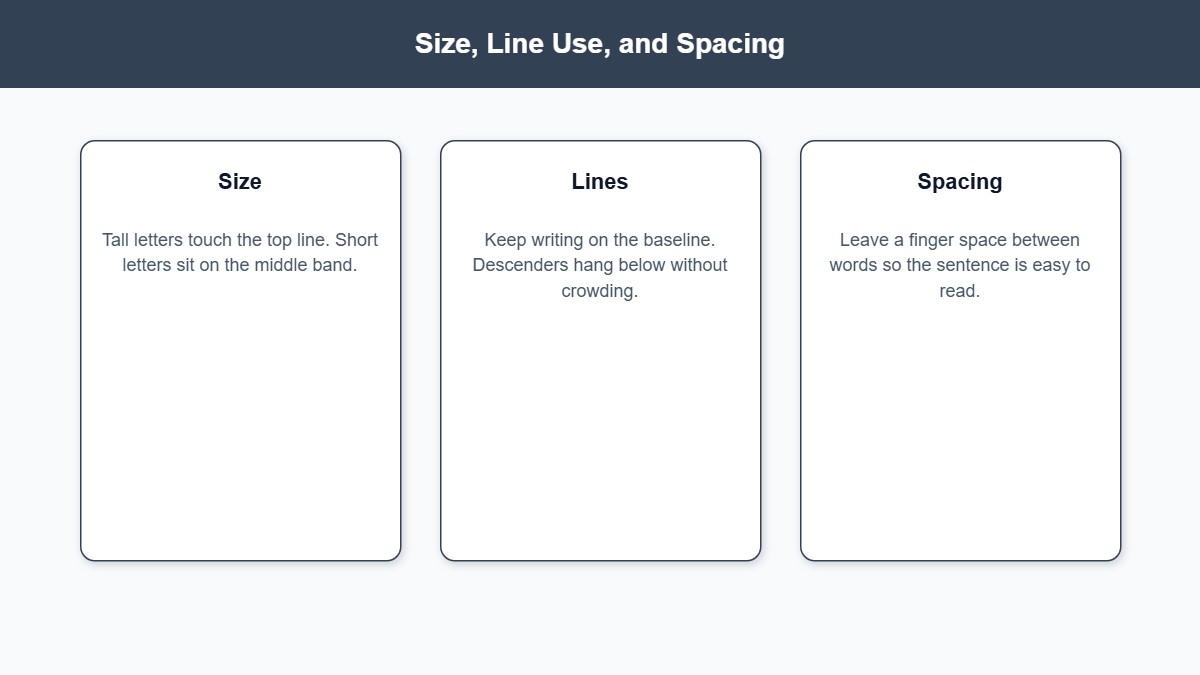
Teach three simple ideas:
- Size: Tall letters (b, d, h, l) reach toward the top line; short letters (a, e, n, o) stay in the middle band; letters with tails (g, j, p, y) go below the line.
- Line use: Letters should rest on the baseline, not float above it.
- Spacing: Letters inside a word sit close; words need a finger-space or small gap between them.
A common early problem is Ilovemyredbike written as one block. Practise copying a short phrase such as “my red bike” while placing a finger or craft stick between words. Spacing is a handwriting skill as much as a writing skill.
8. Move From Letters to Words and Sentences
When a few letters are secure, practise them inside real words the learner cares about: name, mum, dad, cat, sun, yes, no.
Keep early words short. Ask the learner to say each letter while writing it, or to say the word slowly if they already know some sounds. Handwriting and how to teach phonics support each other, but do not load a handwriting lesson with long spelling lists.
Next, use very short sentences: “I can sit.” “Sam has a hat.” Focus on letter formation, spaces, and staying on the line — not on story length. Wider writing goals belong in how to teach writing and writing worksheets.
Printable: Write Simple Words
Move from single letters into CVC and high-frequency words on handwriting lines.


9. Set a Simple Practice Routine
Short, frequent practice beats long, tiring sessions.
A workable daily routine might look like:
- One-minute pencil warm-up (lines or shapes)
- Two focus letters (trace and copy)
- One short word or name using those letters
- Quick review of one neat letter from yesterday
Five to ten minutes is enough for many young learners. Stop while the hand is still comfortable. Quality drops quickly when children are tired or frustrated.
10. Common Handwriting Problems and How to Help
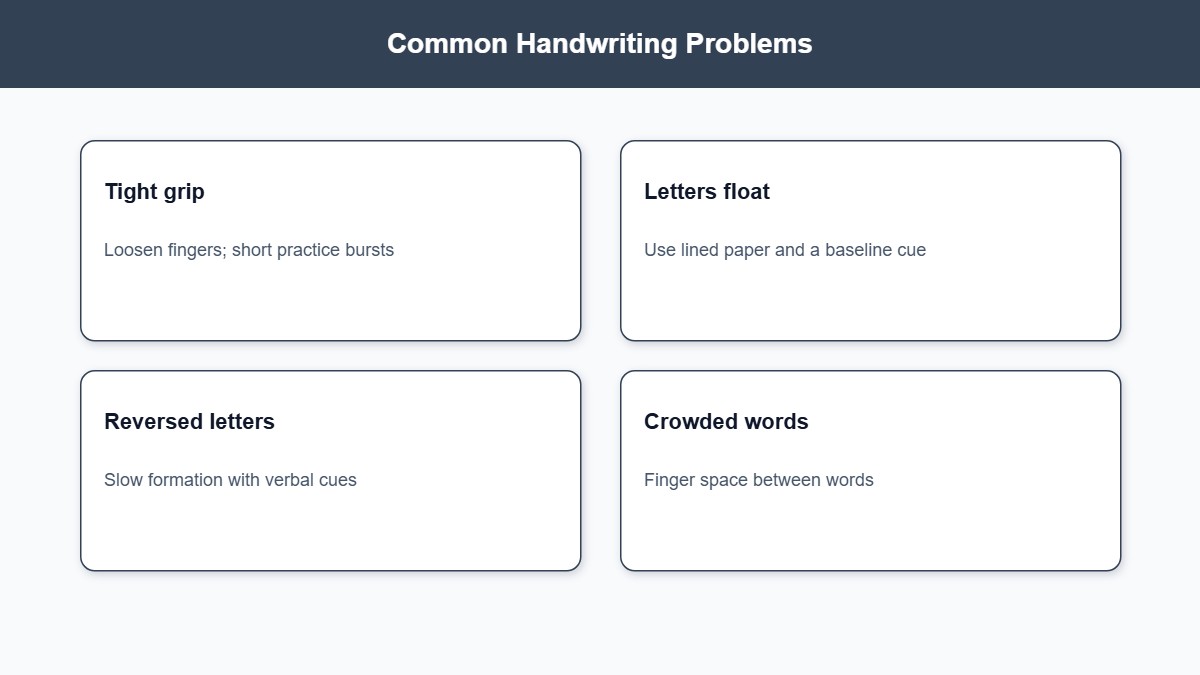
Match the fix to the problem:
- Letters start in the wrong place: Mark a starting dot and say the stroke path every time.
- Letters reverse (b/d, p/q): Slow down, use one letter family at a time, and add a visual cue (for example a “bat then ball” story for b).
- Uneven size: Use lined or three-lined paper and compare tall vs short letters side by side.
- Heavy pressure / sore hand: Soften the pencil grip, shorten sessions, and practise light “feather” strokes.
- Very slow writing: Reduce the number of letters per session and build fluency with familiar letters before new ones.
- Avoidance: Offer larger tools first, celebrate effort on one good letter, and keep tasks short.
If difficulties are severe or persist despite regular practice, consider whether vision, fine-motor strength, or learning support needs further professional advice — while continuing gentle classroom practice.
11. Helping With Messy Handwriting
“Messy” usually means several small issues stacked together: rushed strokes, poor spacing, wandering off the line, and mixed letter sizes.
Do not ask the child to “write neatly” with no target. Pick one focus for the week. Examples:
- Week focus: every letter sits on the line
- Week focus: clear spaces between words
- Week focus: all letters start at the top
Have the learner rewrite only one line, not a whole page. Compare the “before” and “after” line so progress is visible. Messy pages often improve faster when the goal is specific and the workload is small.
12. Keep Handwriting Practice Engaging
Children practise more when the task feels purposeful.
Ideas that still build real skills:
- Write labels for drawings or classroom objects
- Copy a short lunch menu or weather sentence
- Rainbow-trace a letter in two colours, then write it in pencil
- Race a sand timer to write five careful letters (accuracy first, speed second)
- Use letter flashcards as models to copy onto mini whiteboards
Rotate materials: pencils, crayons, whiteboard markers, and chalk. Keep the stroke path the same even when the tool changes.
Printable: Extra Handwriting Practice
Keep short practice sessions purposeful with days-of-the-week and colour-word sheets.


13. Increase Difficulty Gradually
Move forward only when the current step is mostly consistent:
- Large motor lines and shapes
- Traced letters with starting dots
- Copied letters on wide lines
- Independent letters from memory
- Letters inside familiar words
- Short sentences with spacing
- Narrower lines and longer writing tasks
If accuracy collapses, step back one level for a few days. Gradual difficulty protects confidence and prevents rushed, careless habits.
A Simple Handwriting Lesson Structure
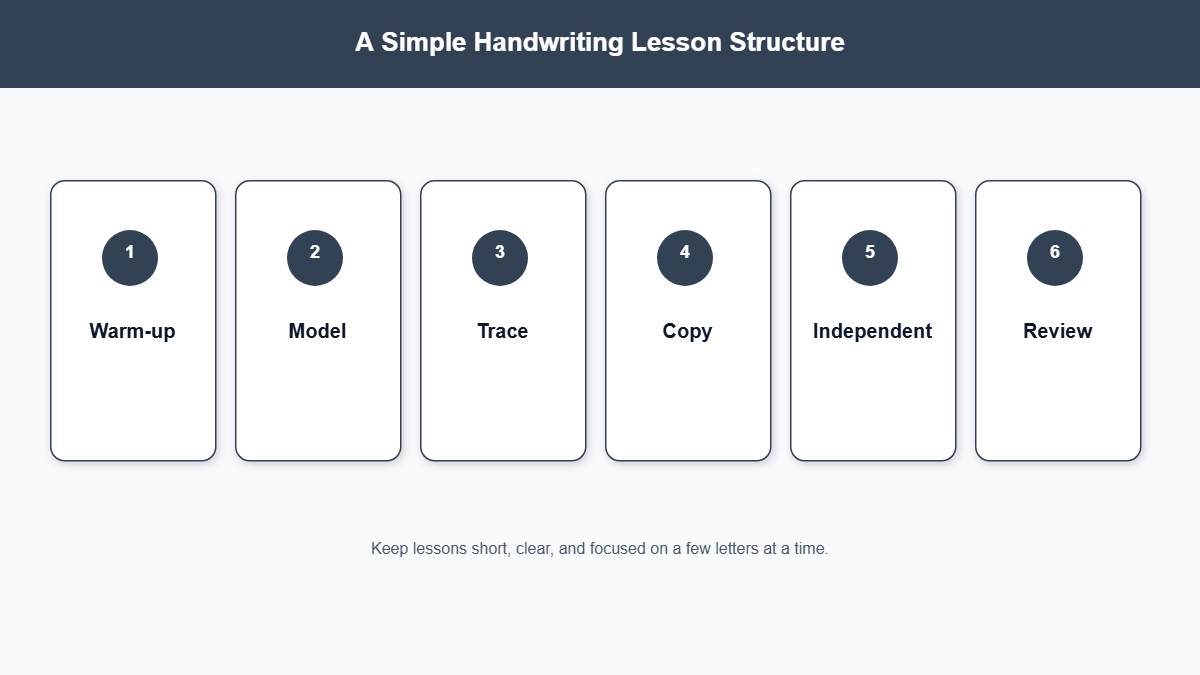
A focused handwriting lesson can follow this sequence:
- Warm-up — Quick lines, shapes, or air writing.
- Model — Teacher writes the target letter and narrates the strokes.
- Guided practice — Trace and copy together; correct starting points early.
- Independent practice — A small set of letters, then a word or short phrase.
- Review — Learners choose their best letter and say what made it clear.
Keep the lesson short. Use English lesson plans ideas to fit handwriting into a wider literacy block without turning every writing period into drills.
How to Teach Handwriting Step by Step
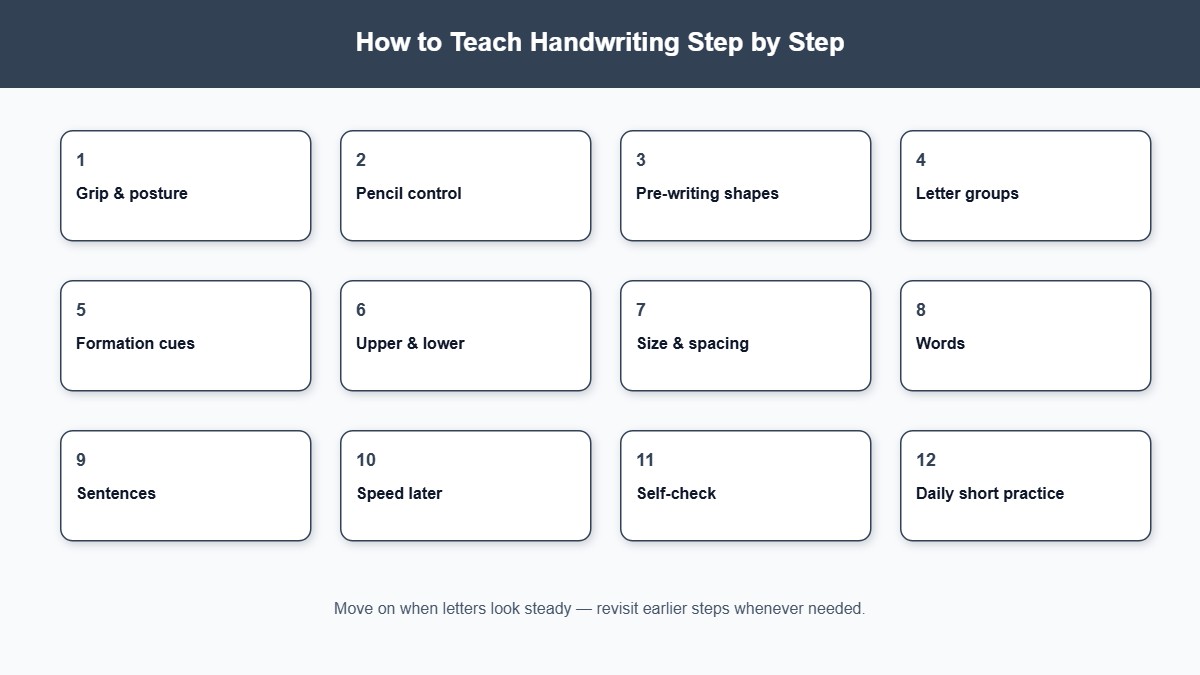
Use this progression as a practical checklist:
- Check posture, paper position, and pencil grip.
- Practise pencil control with lines and paths.
- Teach pre-writing shapes that match letter strokes.
- Introduce letters one at a time with clear stroke order.
- Follow Trace → Copy → Write for each new letter.
- Teach uppercase and lowercase forms the learner needs most.
- Refine size, baseline, and word spacing.
- Practise letters inside short words, then short sentences.
- Use brief daily routines rather than long rare sessions.
- Fix one common problem at a time; raise difficulty slowly.
Some learners move quickly through early steps; others need weeks on grip and formation before words feel easy. Adjust the pace to the child, not to a fixed calendar.
Final Thoughts
Handwriting improves when instruction is clear, practice is short and regular, and feedback targets one skill at a time. Begin with comfort and control, teach letters with a consistent stroke path, then build toward words and sentences that stay on the line and leave readable spaces.
Connect handwriting with letter recognition and sounds when useful, and move into broader composition through how to teach writing once the hand can keep up with the ideas. With patient modelling and the right level of challenge, most learners can produce writing that is clearer, faster, and less tiring to produce.
Frequently Asked Questions
Common questions answered for downloading and using our premium printable designs.






Comments (0)
Leave a Reply
Be the first to leave a comment!