
How to Teach Letter Recognition
A practical guide to teaching letter recognition: start with familiar letters, build uppercase and lowercase knowledge, use matching games, connect letters to sounds, and practise with books and everyday print.
 Amanda Williams
Letter recognition means a child can look at a letter and name it correctly — and often match it to its uppercase or lowercase partner. It is one of the first literacy skills children need before they can read words or write independently.
Table of Contents
- What Is Letter Recognition?
- 1. Start With Familiar Letters
- 2. Teach a Few Letters at a Time
- Printable: Small Letter Sets
- 3. Teach Uppercase and Lowercase
- Printable: Uppercase Letters
- 4. Practise Matching Letters
- Printable: Lowercase Letters
- 5. Show Letters in Different Fonts and Styles
- 6. Use Letter Identification Games
- 7. Add Tracing and Visual Activities
- 8. Connect Letters to Sounds When Ready
- 9. Practise With Books and Everyday Objects
- Common Difficulties With Letter Recognition
- How to Avoid Overwhelming Beginners
- Classroom Activities for Letter Recognition
- How to Practise Letter Recognition at Home
- How to Help a Child Who Struggles
- How to Increase Difficulty
- A Simple Letter Recognition Lesson
- How to Teach Letter Recognition Step by Step
- Final Thoughts
Knowing letter names is different from knowing letter sounds, and both matter. Recognition usually comes first or alongside early sound work. When children can quickly spot letters in books, signs, and games, they have a clearer path into how to teach phonics and how to teach someone to read.
This guide explains how to teach letter recognition in a practical sequence: start with letters the child already knows, add a few new ones at a time, practise matching and naming, then link letters to sounds when the child is ready.
What Is Letter Recognition?
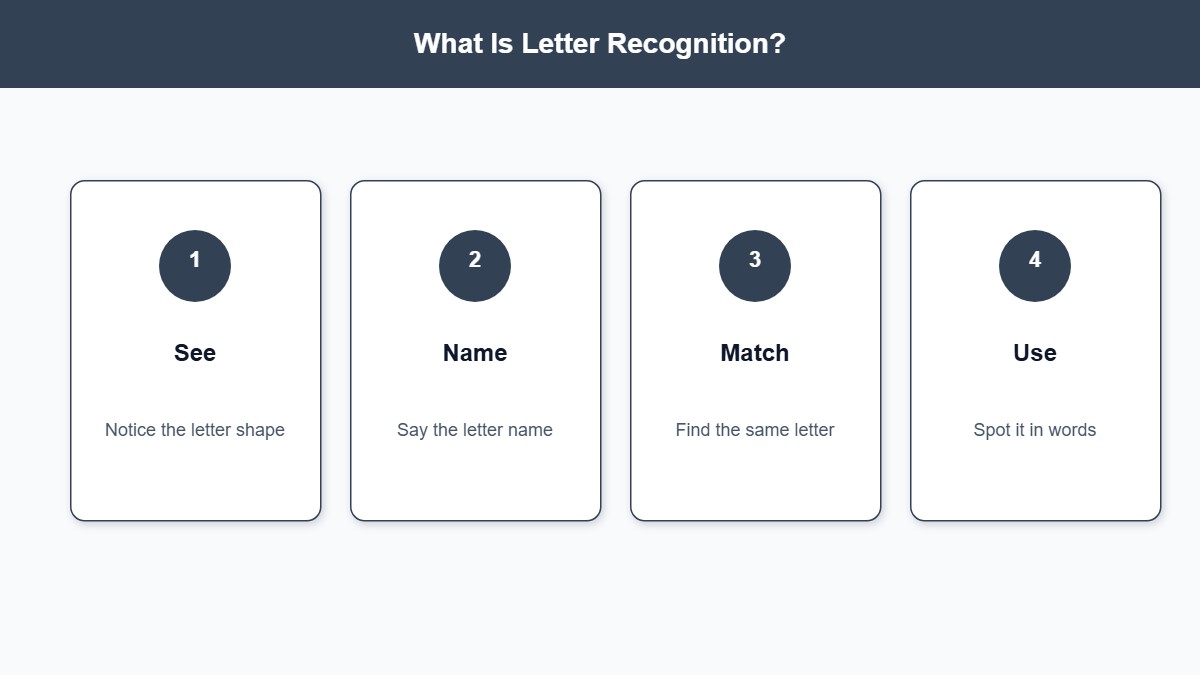
Letter recognition is the ability to identify letters of the alphabet by name. A child who recognises letters can point to A when you say “A,” name the letter when they see it, and often tell uppercase A from lowercase a.
It does not require perfect handwriting or fluent reading. Those skills grow later. Recognition is about seeing and naming. Formation practice belongs more with how to teach handwriting; sound work connects to how to teach phonemic awareness and letter–sound lessons.
Why it matters: children who know letter names learn letter sounds more easily, follow print in books more confidently, and feel less lost when adults talk about “the letter M” or “find the B.”
1. Start With Familiar Letters
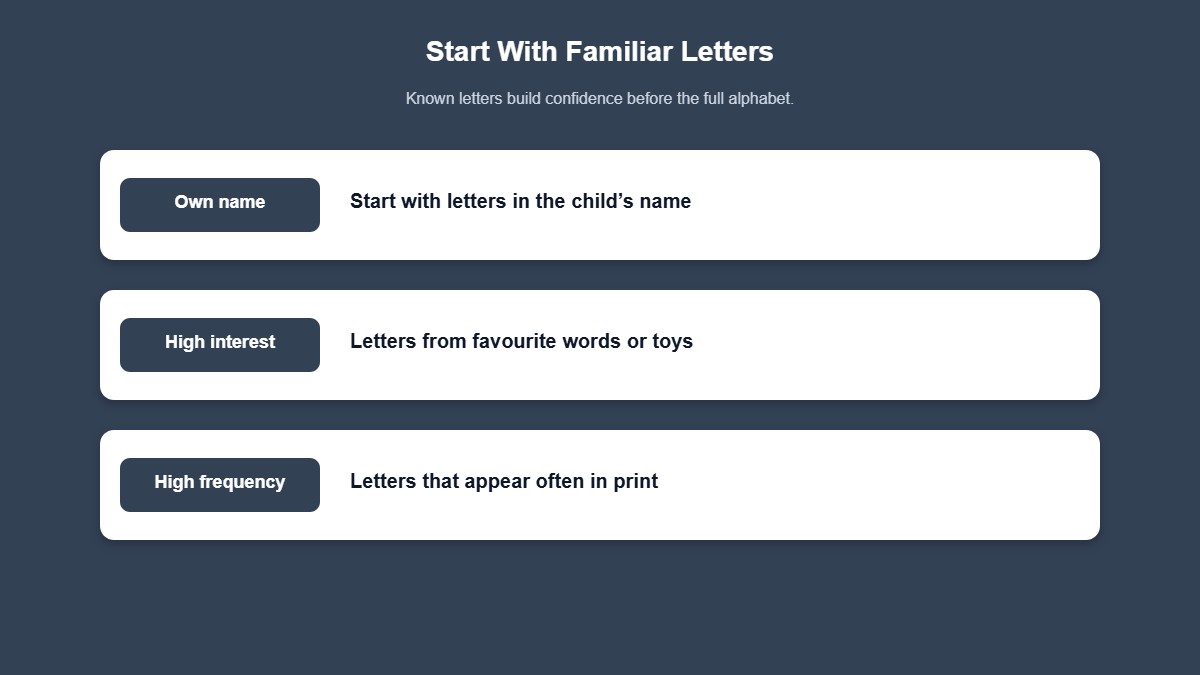
Do not begin with the whole alphabet in order. Start with letters that already feel personal.
The letters in a child’s name are often the best first set. If the child’s name is Sam, teach S, A, and M first. Point to those letters on name cards, backpack tags, and artwork. Ask: “Which one is S?” “Can you find the letter that starts your name?”
Other useful early letters include letters from family names, favourite animals, or classroom labels the child sees every day. Familiar letters make success feel real before the rest of the alphabet arrives.
2. Teach a Few Letters at a Time
Teaching all 26 letters at once overwhelms most beginners. Introduce two to four new letters, practise them until they feel steady, then add the next small group.
A simple cycle works well: show the letter → name it together → find it in a few places → match it → review yesterday’s letters → add one new letter when ready.
Keep review short and frequent. Children forget letters that disappear for weeks. Five minutes of naming cards daily beats one long alphabet drill once a week.
Printable: Small Letter Sets
Focus on a few letters at once with small-group alphabet grids.


3. Teach Uppercase and Lowercase
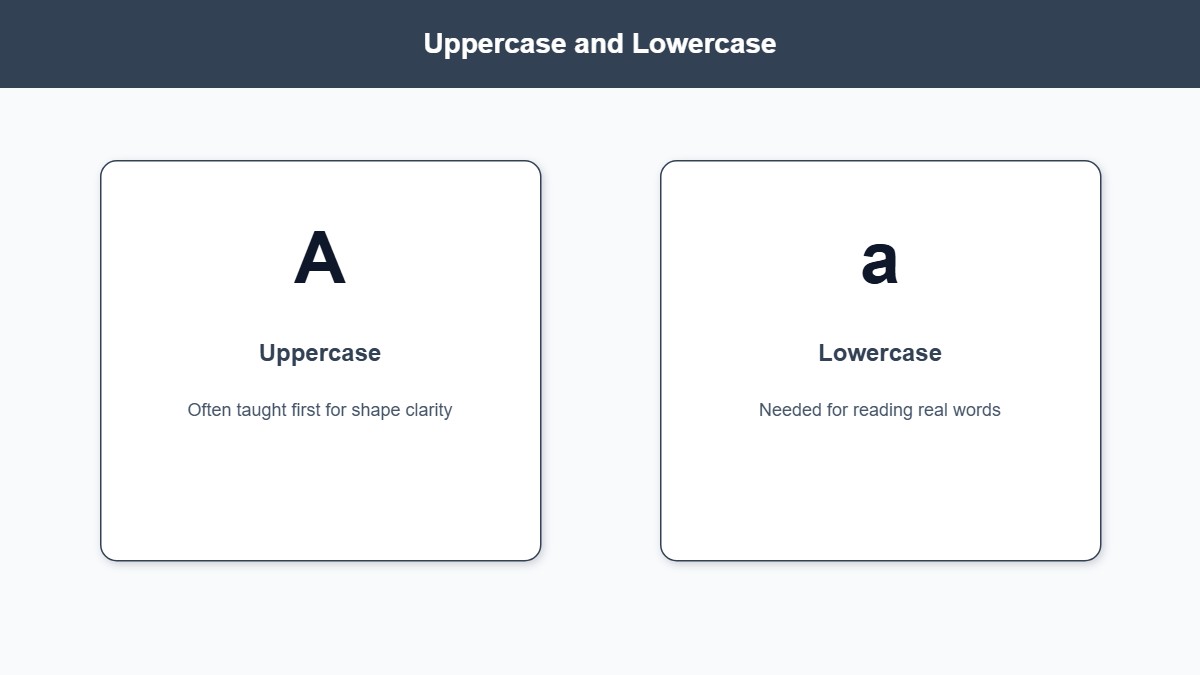
Children need both forms. Many books use mostly lowercase, while names and signs often use uppercase, so teach both deliberately.
For each letter, show the pair side by side: A a, B b, C c. Say both names the same way (“capital A” and “lowercase a,” or “big A” and “little a,” depending on your classroom language). Keep the language consistent.
Some letters look similar in both cases (like S/s and O/o). Others look very different (A/a, E/e, G/g). Spend extra time on pairs that do not resemble each other. Matching games with uppercase and lowercase cards help children see that both shapes belong to the same letter.
Printable: Uppercase Letters
Practise naming and matching capital letters with a clear grid and match sheet.


4. Practise Matching Letters
Matching builds recognition without asking the child to produce the name first every time.
Useful matching tasks include: uppercase to lowercase, letter to letter among a small set of choices, letter tiles to a printed letter on a mat, and magnetic letters to labels on a fridge or whiteboard.
Start with few options. Three choices are easier than a full alphabet mat. When the child matches correctly, say the letter name clearly so matching stays tied to naming.
Printable alphabet worksheets work well for cut-and-paste or circle-the-match practice once children can handle paper tasks.
Printable: Lowercase Letters
Build lowercase recognition with grid and match activities.


5. Show Letters in Different Fonts and Styles
A letter is still the same letter in a storybook, a street sign, a handwritten note, and a playful classroom font. Beginners often recognise only the exact style they first learned.
Once a child knows a letter in one clear font, show the same letter in two or three other styles. Ask: “Are these both M?” Point out what stays the same — the number of humps, the stick and ball, the open curve — without turning it into a design lecture.
Avoid switching fonts during the very first introduction of a letter. Teach the clear print form first, then stretch recognition across styles.
6. Use Letter Identification Games
Games keep naming practice active and short.
Try letter hunts: hide a few letter cards around the room and ask children to find the T. Play “I spy” with letters on posters and book covers. Use a bag of letter tiles: pull one out and name it. Sort letters into “letters in my name” and “other letters.”
Flashcard games work if they stay brief. Show a card, wait for the name, then mix in previously learned letters so new ones do not float alone. phonics flashcards are handy for quick warm-ups.
Keep the tone playful. If a child freezes, give a choice of two and let them succeed before asking them to name freely again.
7. Add Tracing and Visual Activities
Seeing and saying letters is the core of recognition. Light tracing and visual tasks can support memory without turning the lesson into a handwriting session.
Children can trace a large letter with a finger in the air, on sandpaper, or on a laminated card. They can build letters with sticks, playdough, or pipe cleaners. They can colour only the target letter on a busy page of mixed letters.
These activities help children notice shape. Save careful pencil formation and line practice for how to teach handwriting lessons so recognition time stays focused on naming and finding letters.
8. Connect Letters to Sounds When Ready
Letter names and letter sounds are related but not identical. Once a child can recognise a few letters reliably, begin linking each letter to its most common sound.
For example: “This is M. M says /m/, as in map.” Keep examples concrete and short. Do not wait until all 26 letters are named before introducing any sounds — but do not pile on sound rules before naming is stable for that letter.
Oral sound play from how to teach phonemic awareness supports this step. Focused print practice belongs with how to teach phonics and letter sounds worksheets.
9. Practise With Books and Everyday Objects
Letters live outside worksheets. Use the environment.
During shared reading, pause on a page and ask the child to find a known letter. Point to the first letter of a favourite character’s name. On walks or errands, notice letters on shop signs, cereal boxes, and street names — one or two finds is enough.
At home, label a few household items with clear letter cards, or keep a small set of magnetic letters on the fridge for quick naming while snacks are prepared. Everyday practice should feel like noticing, not a quiz.
Common Difficulties With Letter Recognition
Some letters confuse children more than others. Classic mix-ups include b and d, p and q, and sometimes m and w or n and u. Similar shapes need extra comparison: show both letters, name each one, and practise them in separate short bursts before mixing them again.
Children may also recognise a letter in isolation but miss it inside a word, or know uppercase but not lowercase. That is normal. Practise the weaker form or context without assuming the child “forgot everything.”
If progress is very slow, check vision concerns with caregivers, reduce the number of letters in play, and increase multi-sensory naming (see, say, touch) before adding new letters.
How to Avoid Overwhelming Beginners
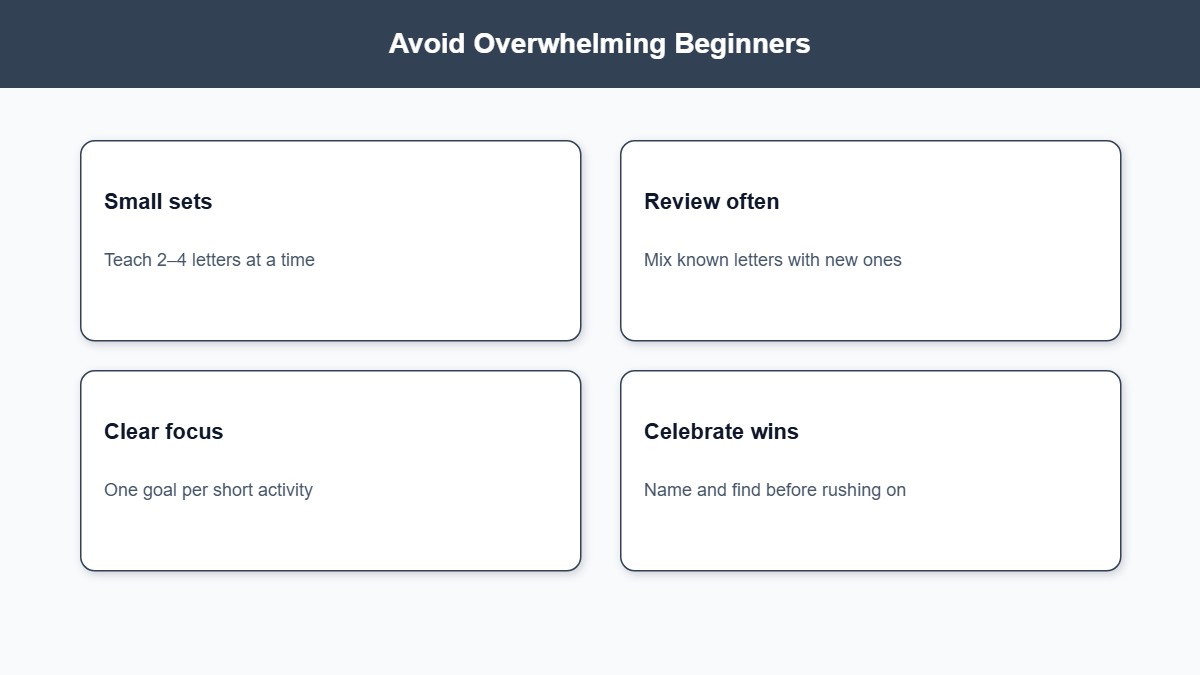
Whole-alphabet charts are useful as a classroom reference, but they are a poor first teaching method for many children. Naming every letter in order can hide gaps: a child may chant along without truly recognising letters out of sequence.
Better habits: teach small sets, review old letters before new ones, assess with random order cards, and celebrate accurate naming of a few letters rather than rushed coverage of all twenty-six.
Stop while the child is still successful. Ending on a correct answer builds confidence for the next short session.
Classroom Activities for Letter Recognition
In class, rotate short stations: letter matching mats, a hunt for today’s target letter on the word wall, partner “show me the letter” with mini whiteboards, and a quick flashcard review at the carpet.
Use name charts so every child has personal letters to master early. Display a clear alphabet strip at eye level for reference, not as the only instruction method.
Plan focused lessons with English lesson plans, and keep printable follow-up in alphabet worksheets for independent or homework practice.
How to Practise Letter Recognition at Home
Parents do not need a full curriculum. Pick two or three letters for the week — often from the child’s name — and look for them in books, toys, and packaging.
Play a one-minute fridge game with magnetic letters. Read a short alphabet book and let the child turn pages while naming any letters they know. Ask the child to “be the teacher” and show you a letter on a card.
Keep sessions short. Three cheerful minutes beat a long drill that ends in frustration.
How to Help a Child Who Struggles
Slow down the pace. Return to letters the child already knows and rebuild confidence. Then add one new letter at a time with lots of review.
Use larger letters, high contrast, and fewer distractors on the page. Offer a choice of two when free naming is hard. Pair the letter with a consistent keyword picture only after the name is clear, so the picture does not replace the letter.
Separate recognition from handwriting demands. A child can learn to name letters while still developing pencil control in separate, shorter sessions.
How to Increase Difficulty
When a small set of letters is solid, raise the challenge gradually:
- Name letters in random order, not alphabet order
- Find letters inside words and sentences
- Match uppercase and lowercase under time-light pressure (still friendly, not a race)
- Recognise the same letter in new fonts and sizes
- Sort a mixed pile into known vs still-learning
- Add letter–sound links for letters the child can already name
- Widen the set until most of the alphabet is known, still reviewing tricky pairs
Move toward reading readiness by combining strong letter knowledge with listening for sounds and simple decoding — the bridge described in how to teach someone to read and how to teach phonics.
A Simple Letter Recognition Lesson
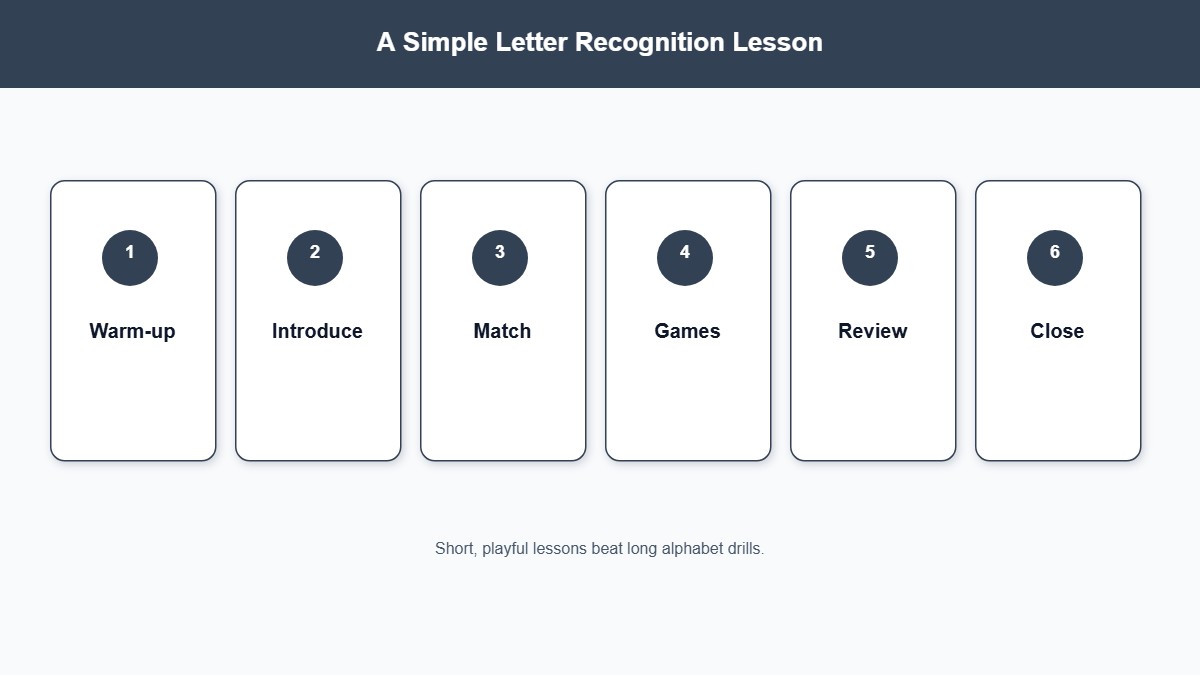
A short lesson might look like this:
- Warm-up — Review three known letters with cards (30–60 seconds).
- Introduce — Show one new letter, name it, and point out its shape.
- Match — Child finds the same letter among two or three choices, including uppercase/lowercase if ready.
- Hunt — Find the letter on a page, name chart, or classroom label.
- Optional sound link — If appropriate, say the common sound once with a clear example word.
- Close — Child names the new letter and one review letter successfully before you finish.
Ten to fifteen minutes is enough for many young learners. Repeat the same letters across several days rather than switching targets every session.
How to Teach Letter Recognition Step by Step
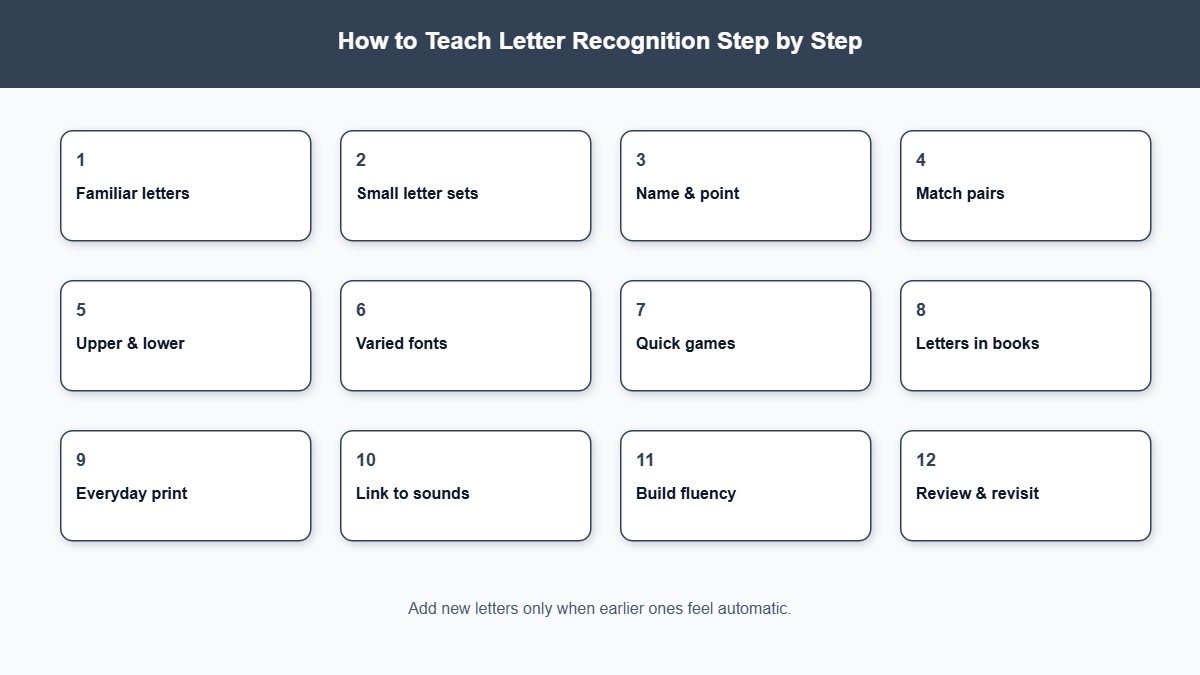
Use this progression as a guide and adjust to the child:
- Begin with name letters and other familiar letters.
- Teach clear letter names with a consistent print style.
- Add uppercase and lowercase pairs for those letters.
- Practise matching and finding letters in simple games.
- Introduce a few new letters at a time with daily review.
- Show known letters in different fonts and in books.
- Address confusing pairs with extra comparison practice.
- Connect secure letters to their common sounds.
- Widen alphabet knowledge until recognition is quick and flexible.
- Move into early reading and handwriting as those skills become useful.
Not every child follows the same timeline. The goal is accurate, confident naming — not rushing through an alphabet song.
Final Thoughts
Teaching letter recognition works best in small steps. Start with letters that matter to the child, practise naming and matching often, and wait to flood them with the full alphabet.
Use games, books, and everyday print so letters feel useful. Add sounds when names are steady, and keep handwriting practice in its own lane when needed.
With clear models, short reviews, and patient progression, children build the alphabet knowledge they need for phonics and early reading.
Frequently Asked Questions
Common questions answered for downloading and using our premium printable designs.





Comments (0)
Leave a Reply
Be the first to leave a comment!