
How to Teach Phonemic Awareness
A practical guide to teaching phonemic awareness: beginning and ending sounds, blending, segmenting, deleting and substituting sounds, oral activities from easy to hard, and how PA differs from phonics.
 Amanda Williams
Phonemic awareness is the ability to hear and play with the individual sounds in spoken words — before those sounds are tied to letters on a page. Children who can spot the first sound in “sun,” break “cat” into /c/ /a/ /t/, and blend those sounds back together are ready to make sense of print. Without that listening skill, phonics lessons feel like guesswork.
This guide explains phonemic awareness in plain language and shows how to teach it: beginning and ending sounds, segmenting, blending, then deleting, adding, and substituting sounds. Activities stay oral first, moving from easy to hard. Connect this work to how to teach phonics, how to teach phonics blends, how to teach someone to read, and how to teach letter recognition. Use phonics worksheets, phonics flashcards, and English lesson plans when you move from ears-only practice into letters.
At school or at home, keep sessions short, playful, and spoken. No worksheets are required for the earliest stages — clapping, tapping, and talking are enough.
What Phonemic Awareness Is (in Simple Language)
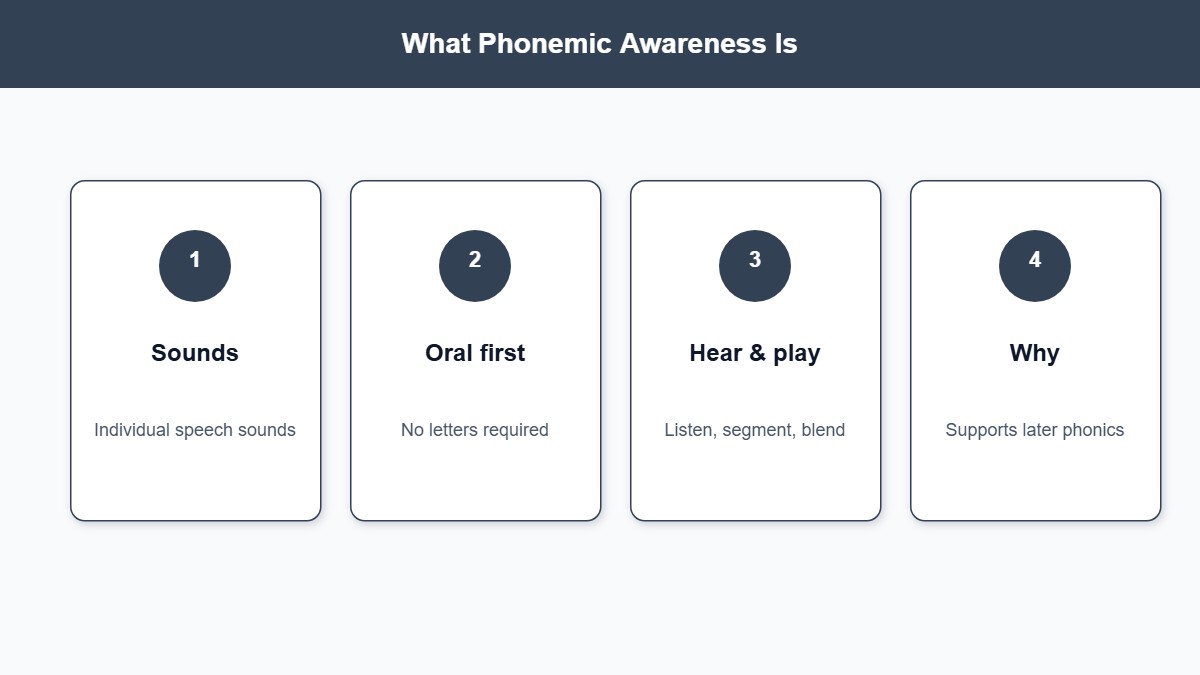
A phoneme is the smallest sound unit that can change a word’s meaning. In “pig,” the sounds are /p/ /i/ /g/. Change /p/ to /b/ and you get “big.”
Phonemic awareness means noticing and working with those sound pieces in speech:
- Hearing what a word starts or ends with
- Splitting a word into separate sounds (segmenting)
- Pushing sounds together to make a word (blending)
- Taking a sound away, adding one, or swapping one for another
It is an listening skill. Children can practise in the dark, in the car, or with eyes closed. Letters come later.
Why Phonemic Awareness Matters
Reading English depends on matching sounds to letters. If a child cannot hear that “man” and “mop” share a first sound, teaching that both begin with the letter m is much harder.
Strong phonemic awareness predicts easier phonics and early reading. Weak awareness often shows up as trouble sounding out words, mixing up similar words, or relying on pictures instead of print.
You do not need to wait until children know the whole alphabet. Oral sound games can run beside how to teach letter recognition and early how to teach phonics. Think of phonemic awareness as training the ear so the eyes have something useful to map onto.
Phonemic Awareness vs Phonics
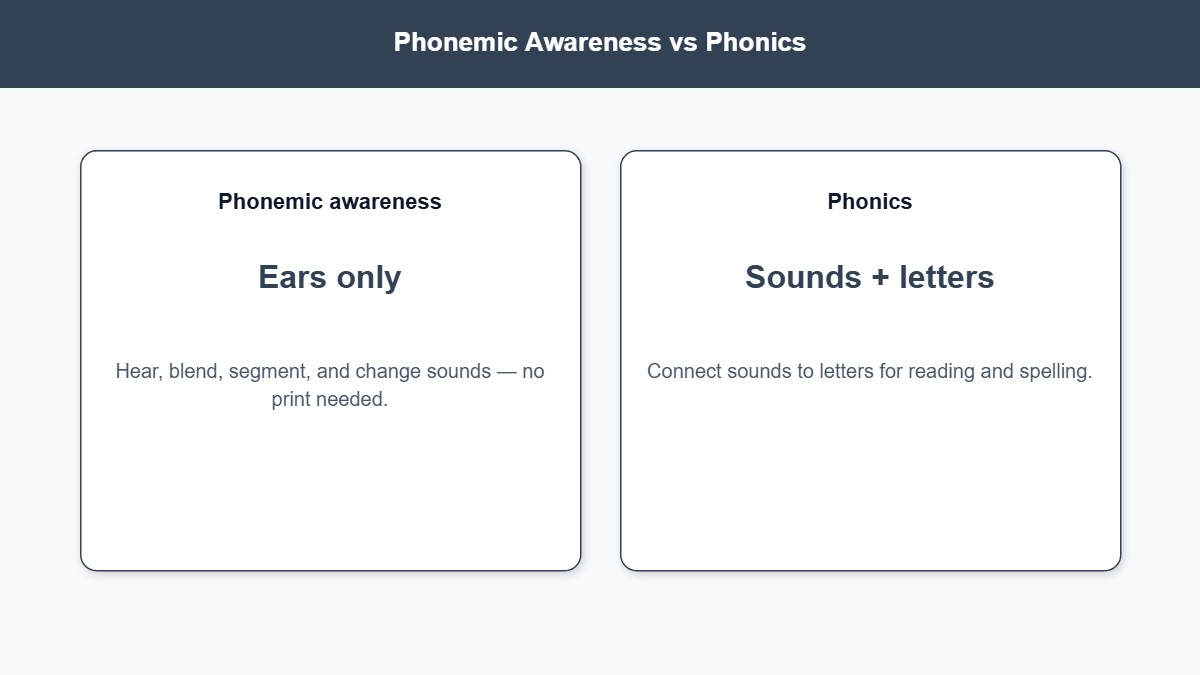
These terms are often confused.
Phonemic awareness — working with sounds in spoken words only (no print required).
Phonics — connecting those sounds to letters and letter patterns in written words.
Example: Saying the sounds in “ship” aloud (/sh/ /i/ /p/) is phonemic awareness. Looking at the letters sh-i-p and reading the word is phonics.
Teach listening skills first or alongside very early letter work, then move firmly into how to teach phonics. When children meet consonant clusters in print, how to teach phonics blends builds on the same ear skills. Print practice belongs on phonics worksheets and phonics flashcards; keep pure PA tasks oral.
1. Start With Listening and Word Play
Before fine phoneme work, warm up the ear with broader sound awareness.
Rhymes: “What rhymes with hop?” Alliteration: “Silly Sammy seals.” Count the words in a short sentence by hopping once per word. Clap syllables in names: “El-e-phant.”
These activities are not yet full phonemic awareness, but they teach children to pay attention to speech as something they can take apart. Keep them fun and brief — two or three minutes is enough.
Printable: Rhyme Play
Warm up ears with rhyme families and odd-one-out listening sorts.


2. Teach Beginning Sounds
Initial sounds are usually the easiest phonemes to isolate.
Say a word slowly and stretch the first sound: “/mmmm/oon — moon.” Ask: “What is the first sound you hear?” Accept the sound (/m/), not the letter name (em), at this stage.
Sort picture cards by first sound without showing letters: sun, sock, and sandwich in one pile; cat and cup in another. Play “I spy something that starts with /s/.”
Practise continuous sounds (m, s, f, n, l) before stop sounds (b, t, d, k) if children struggle — continuous sounds are easier to stretch and hear.
Printable: Beginning Sounds
Practise hearing first sounds with /b/ and /s/ picture sorts.


3. Teach Ending Sounds
Final sounds come next for many learners.
Stretch the end of the word: “ca-/tttt/ — cat. What sound do you hear at the end?” Compare pairs: “Do bus and yes end with the same sound?”
Odd-one-out games help: hat, sit, dog — which ending sound is different? Keep vocabulary familiar so meaning does not distract from listening.
If children always repeat the whole word instead of the final sound, model the answer, then have them echo only the last phoneme.
Printable: Ending Sounds
Listen for final /t/ and /n/ in familiar words.


4. Teach Segmenting (Pulling Sounds Apart)
Segmenting means saying each phoneme in order: “dog” → /d/ /o/ /g/.
Start with two-sound words or clear CVC words: at, it, mop, sun. Use counters, blocks, or fingers — one token per sound. The child says a sound as they push each token forward.
Teacher model first: push three blocks while saying /s/ /u/ /n/, then the child tries. Keep the vowel clear; muffled vowels make segmenting collapse.
Do not demand writing yet. Oral segmenting with tokens is enough. When letters arrive later through how to teach phonics, Elkonin-style boxes can link each sound to a grapheme.
Printable: Sound Boxes
Pull words apart into individual sounds with sound-box matching.

5. Teach Blending (Pushing Sounds Together)
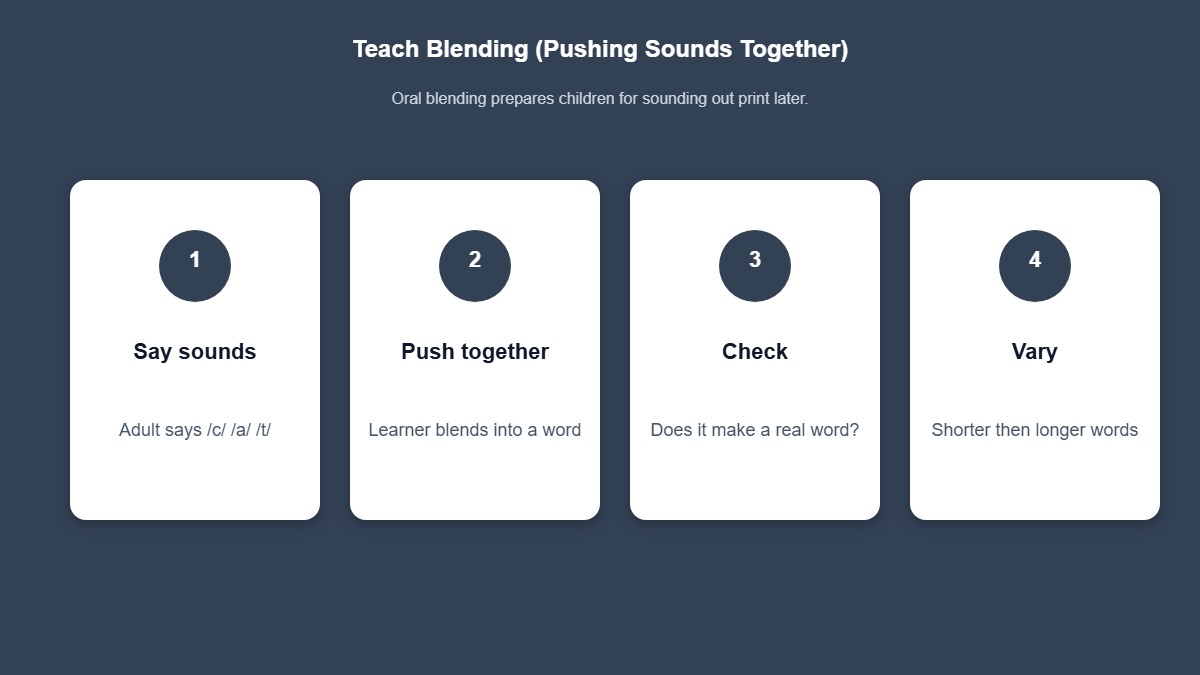
Blending is the reverse of segmenting: /c/ /a/ /t/ → “cat.” This skill maps directly onto sounding out words in reading.
Say the sounds with short, clean gaps: “/s/ … /a/ … /t/. What word?” If that is too hard, “body-coda” blend: “/sa/ … /t/” then full phoneme blend.
Use a sliding motion — finger along the table as sounds join — so children feel the sounds “stick.” Start with continuous first sounds (/s/, /m/, /f/) which blend more easily than stops.
Practise daily in tiny doses. Blending improves with repetition more than with long explanations.
Printable: Onset–Rime Blending
Push onset and rime together to make whole words.

6. Delete, Add, and Substitute Sounds
Once blending and segmenting two- and three-sound words are reliable, introduce manipulation tasks. These are harder and should stay oral and playful.
Delete: “Say ‘seat.’ Now say it again without /s/.” (eat)
Add: “Say ‘and.’ Now add /h/ at the beginning.” (hand)
Substitute: “Say ‘cat.’ Change /c/ to /h/.” (hat)
Change one thing at a time. Begin with first-sound swaps, then final sounds, then middle vowels when ready. If children freeze, return to simpler segment-and-blend practice for a few days.
These tasks prepare learners for flexible decoding and spelling later, including work on how to teach phonics blends when print shows two consonants together.
7. Easy-to-Hard Oral Activity Progression
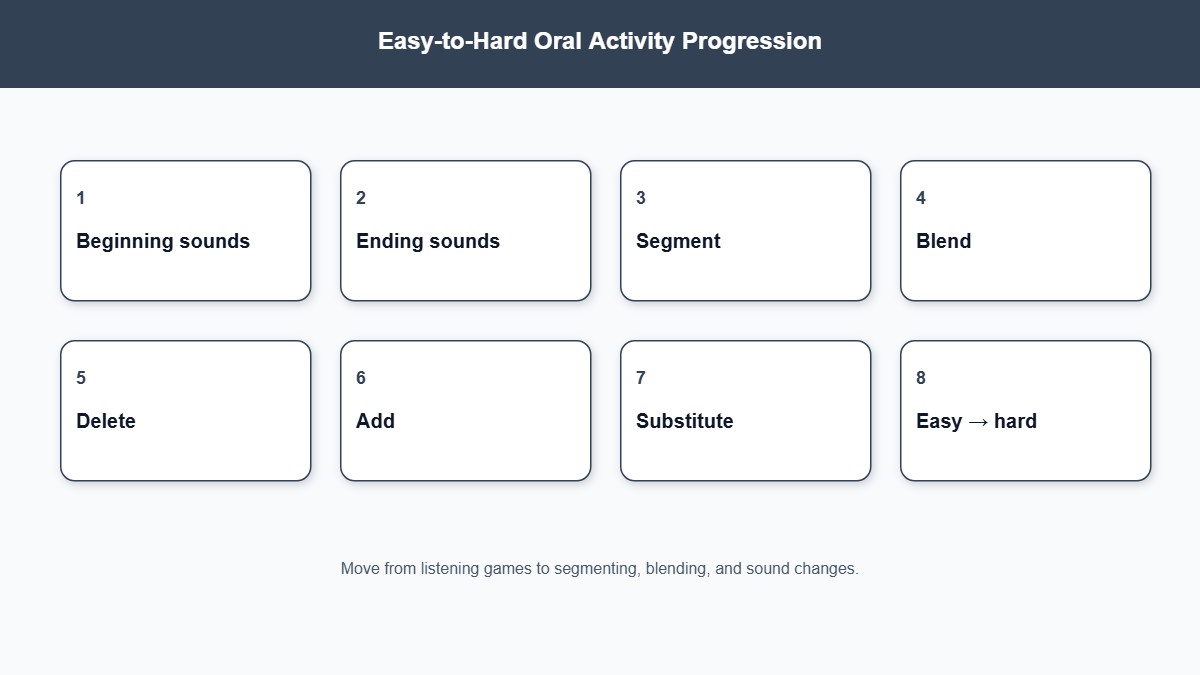
Order matters. Move up only when the current level feels comfortable:
- Rhymes, syllables, and whole-word listening games
- Identify the same or different first sound
- Say the beginning sound of a spoken word
- Say the ending sound
- Blend two then three sounds into a word
- Segment two then three sound words with tokens
- Blend and segment words with four sounds (for example, slip → /s/ /l/ /i/ /p/) when ready
- Delete, add, and substitute phonemes
Medial (middle) sounds and blends inside words are often the trickiest. Stay longer there. Keep every step spoken aloud — pictures are fine as prompts; letters wait until the ear is steady.
8. Classroom Activities That Work
Keep phonemic awareness lessons active and short (five to ten minutes).
- Sound sorting with picture cards (no print)
- “Robot talk”: teacher says segmented sounds; children blend the word
- “Stretchy snake”: stretch a word, then snap it back together
- Token push for segmenting on the carpet
- Stand up / sit down for “same first sound?” judgements
- Pass-the-object: say a word starting with the last sound you heard
Mix whole-class games with quick partner turns so every child responds, not only the confident few. Plan fuller literacy sessions with English lesson plans once you combine PA with print.
Printable: More Listening Activities
Add syllable claps and another rhyme family for centres or warm-ups.


9. Home Activities for Parents
Phonemic awareness fits naturally into daily talk.
In the car: “I spy something that starts with /b/.” At bedtime: stretch a story word into sounds, then blend it back. While cooking: “Pepper — what is the first sound?”
Clap syllables in family names. Make a silly chain: cat → hat → hot → hop. Keep it light; stop while it is still fun.
When the child knows some letters, you can gently connect a sound to a letter using phonics flashcards — but pure listening games still help even after phonics has started.
10. Common Difficulties and How to Help
Giving letter names instead of sounds: Model the sound clearly. Say, “I want the sound your mouth makes, not the letter’s name.”
Cannot hear the first sound: Stretch continuous consonants; use mirrors so they see lips; limit choices (“Is it /m/ or /s/?”).
Blending fails (they repeat sounds but never say the word): Shorten the gaps between sounds; try onset-rime (/c/ + at) before full phoneme blending; use fewer sounds.
Segmenting adds or drops sounds: Use one token per sound and recount tokens after saying the word. Stick to CVC before blends.
Frustration: Drop to an easier level. Success rebuilds attention faster than harder items.
Persistent struggle alongside weak letter knowledge may need parallel support from how to teach letter recognition and a careful how to teach phonics sequence — still keep some daily oral sound play.
11. How to Increase Difficulty
Raise challenge gradually:
- From first sounds to last sounds to middle sounds
- From two phonemes to three, then four
- From identifying to producing the sound
- From blending to segmenting to deleting/adding/substituting
- From clear continuous sounds to stop sounds and clusters
When print enters the picture, move into how to teach phonics and later how to teach phonics blends, but continue brief oral warm-ups so the ear stays sharp.
A Simple Phonemic Awareness Lesson Structure
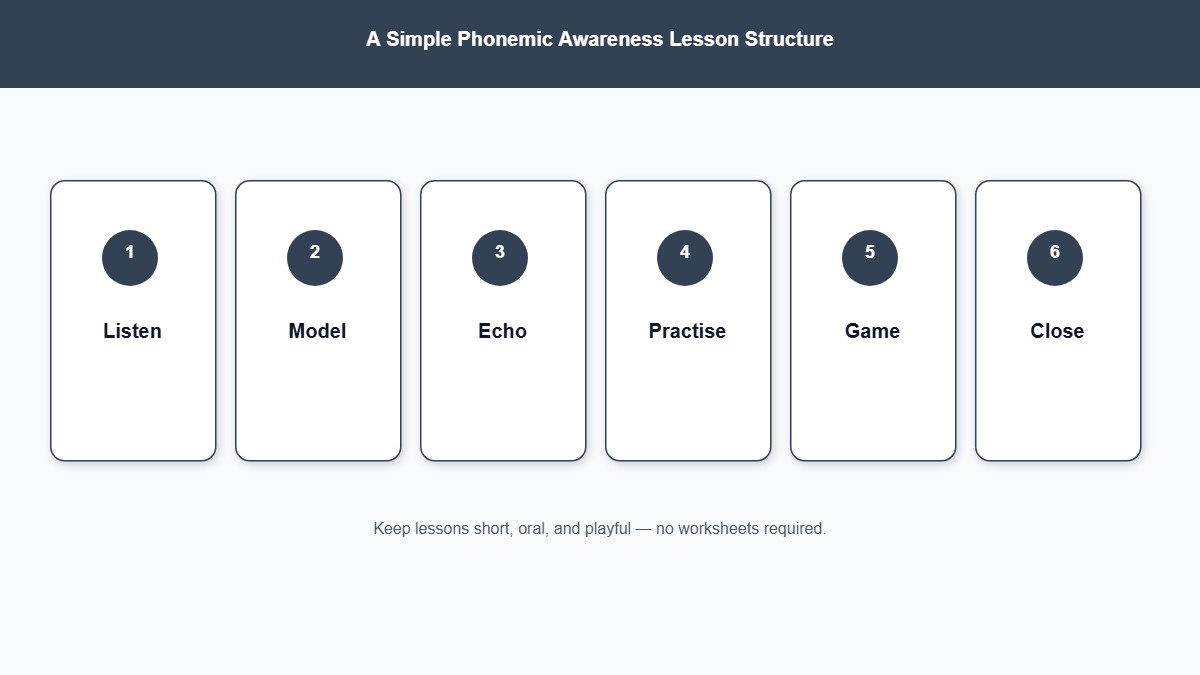
A short oral lesson can follow this sequence:
- Warm-up — Rhyme or syllable clap (1–2 minutes).
- Model — Show today’s skill (for example, blending three sounds) with clear mouth movements.
- Guided practice — Class responds together with pictures or tokens.
- Individual turns — Quick responses from several children; correct gently by modelling.
- Link (optional) — If ready, show one letter that matches a sound you practised; otherwise stay oral.
- Wrap-up — One playful “robot talk” word on the way to the next activity.
Five focused minutes daily usually beats one long weekly session. Use English lesson plans when PA sits inside a wider reading block with how to teach someone to read.
How to Teach Phonemic Awareness Step by Step
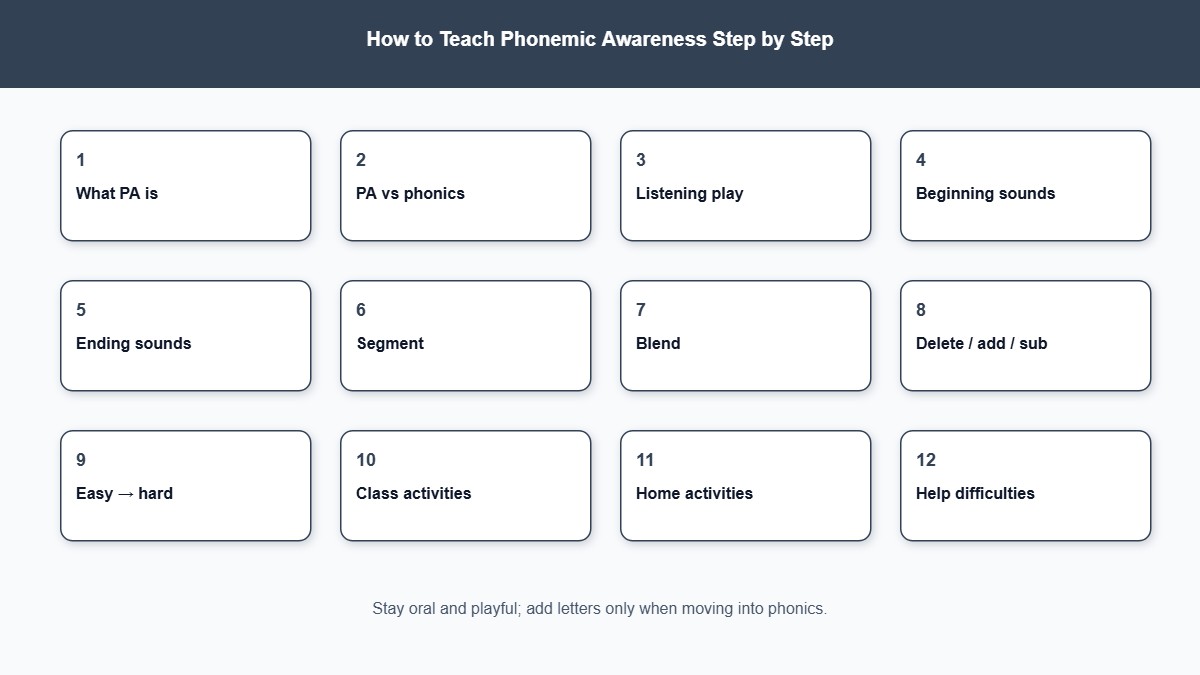
A practical progression looks like this:
- Play with rhymes, syllables, and careful listening.
- Identify and say beginning sounds in spoken words.
- Identify and say ending sounds.
- Blend two sounds, then three, into real words.
- Segment simple words with fingers or counters.
- Practise daily oral blending and segmenting in short bursts.
- Add delete, add, and substitute tasks when three-sound words are secure.
- Extend to longer words and trickier middle sounds.
- Connect sounds to letters through how to teach phonics and how to teach letter recognition.
- Carry ear skills into print work, including how to teach phonics blends when appropriate.
Stay oral longer if blending is weak. Letters cannot fix an ear that cannot yet hold the sounds.
Final Thoughts
Teaching phonemic awareness means training children to hear the sound pieces inside words — then blend, segment, and change those pieces with confidence. Keep early practice spoken, short, and playful.
Move from beginning and ending sounds to blending and segmenting, then to deleting, adding, and substituting. Know the difference between this listening work and how to teach phonics: one prepares the ear; the other maps sounds onto print.
When the ear is ready, letter learning, phonics flashcards, phonics worksheets, and the wider path in how to teach someone to read become much clearer. Strong phonemic awareness is quiet work with a loud payoff in reading.
Frequently Asked Questions
Common questions answered for downloading and using our premium printable designs.





Comments (0)
Leave a Reply
Be the first to leave a comment!